Sunday, July 31, 2011

Keep Calm and Carry On Card

I bought this stamp a few weeks ago and could not wait any longer to make something with it! It is one of my favorite sayings and is also loved by a few of my friends, so I made a very simple card with it for a friend.

Materials needed for this project:
Card stock in cream, patterned purple, patterned blue.
"Keep Calm and Carry On" stamp (got mine at Michael's) and purple ink.
Pebbles. Inc Chalks
Edge Distresser
Glue and pop-up squares
i Rock and Jewels
Cricut Carts - Jasmine (Rectangles).


I cut out each of the rectangles leaving a half inch on each side of the layers (except for the base layer).  I then chalked and distressed all the edges.


I used purple (my favorite color) ink to stamp on the sentiment.


I added a few jewels with the i rock tool and smallest crystal stones.  I didn't want to overpower the card, but I did want to give it a little sparkle.


I used regular glue to attach the rectangles together, then I used the pop up squares to attach them all to the card.

What do you think of this card?

Carla

Wedding Photo Frame

This week I was presented with the challenge of making a birthday gift for my sister.  She recently got married (in January) and I thought it would be nice to frame one of her wedding photos.  Her wedding had damask print used in many places so I found this paper and thought it would be great to use on a frame.

Materials needed for this project:
Card stock in a shimmer white and any pattern (mine is damask print that has a velvet texture).
Black paint and paint brush
Varnish
Wooden Frame
Pop Up Squares
Mod Podge
Cricut Carts - Songbird (Y) and Lacy Labels (Frames).


Here is a picture of the project - I painted the frame black and then cut both frame layers and ModPodged them on once it was dry.  I then went over it all with varnish to seal it.


I cut both layers of the "Y" (her new last name initial) and glued them together then put varnish on them so they had the same finish.


I attached the "Y" with pop up squares to give the entire frame some depth.


I hope you like this home decor project - what do you think?

Carla

Friday, July 29, 2011

Custom Coasters

This week I had a friend come down for a few days and instead of hitting the pool, we hit the crafting room! After some intense crafting time (and 3 different craft stores) we made quite a few projects - here is my favorite!  Mallory saw this idea on Pinterest (seriously if you haven't checked it out - its a little addicting, but do it) and we had to give it a go.  We got the supplies and Mallory made another coaster set that is the same basic idea, but with scrapbook paper tops instead of the decorations on these ones.

Materials needed for this project:
Vinyl in Dark Brown and Transfer Tape
Fleur de Lis stencil
StazOn ink in Timber Brown and ink dauber
Bathroom Tiles (our are 4"x4" and cost 36 cents at Lowe's)
Felt in dark brown
Fabric Adhesive
Spray Varnish/Sealer
Cricut Carts - Songbird (M).


Two of the coasters - there are 4 total (2 of each design).  We bought the bathroom tiles (at Lowe's) and did not do anything but wash them off before we got started.


The stencil Fleur de Lis was easy enough - we just put the stencil down and used an ink dauber to apply StazOn ink in Timber Brown - it is important that you use an ink that will not rub off.  After letting it set - we used spray varnish to seal it.  We applied a felt square to the back of each coaster so that they are not hard on your tables.


The monogrammed coaster was just as easy! We used Dark Brown vinyl and cut just a capital "M" from Songbird and used transfer tape to apply it.  We again used spray varnish and added the felt square to the back with fabric adhesive.

We also had a little helper for this project - my dog Louis!

This project was really pretty easy, we knocked it out very quickly and they can be made in any way - love the idea of custom coasters year around!! Let me know if you have any questions!  What do you think?

Carla

Wednesday, July 27, 2011

Happy Birthday Fishbowl Card

This week I am entering into 2 challenges, first the Cricut Circle Weekly Challenge:
The Challenge: All week long the Cricut Circle Design Team has been showing you new and different techniques to use with your Cricut Cuts. . . now it’s your turn! Create a project of your choice (Scrapbook page, mini album, card, home decor . . . it’s up to you!) including one of the techniques we have showcased this week. 

I Am also entering this one into the Birthday Sundaes Weekly Challenge:
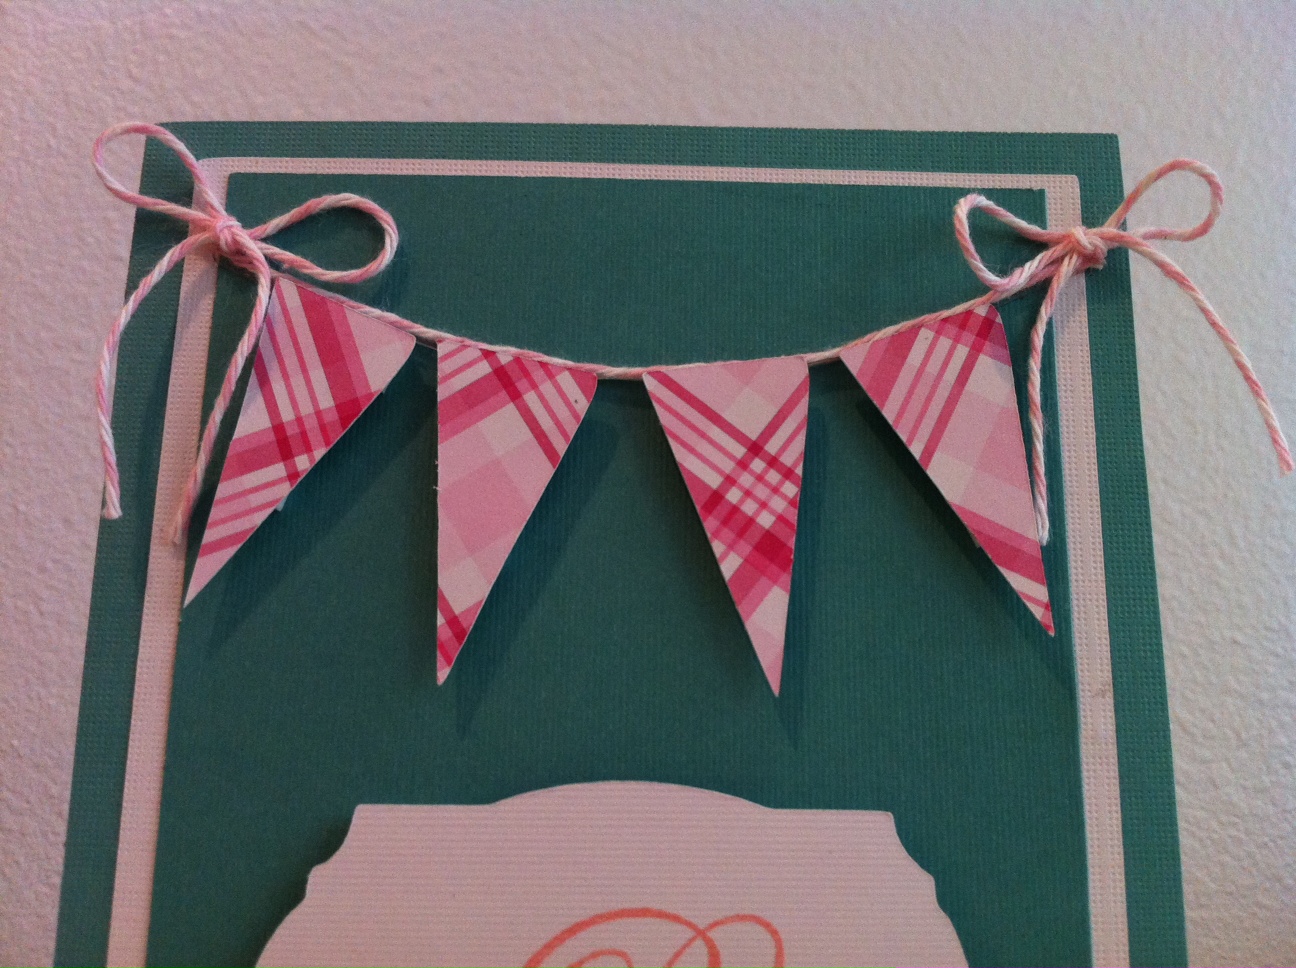
This week's challenge is to create a birthday card using the following Inspiration Photo - I can't wait to see how you all will interpret it.  I think it's a fun one for summer! Don't forget your birthday wording on your card front! Here is the photo:

I decided to make a shaped card that is a fishbowl with just the one fish inside.  I pulled the colors from the photo, and I used 2 of the techniques over at the Circle (the bubbles and using Copic markers to color my fish).  I think this one turned out pretty well!

Materials needed for this project:
Card stock in white, blue, and orange, yellow, dark blue, and tan.
"Have a Great Birthday" stamp and black ink.
Scissors
Yellow Twine
Pebbles. Inc Chalks
Glitter Mist, White Crayon, and Epoxy Bubble Stickers.
Copic Markers
Glue and pop-up squares
Cricut Carts - Boys Will Be Boys (circles, fish tank, and fish) Tags, Bags, Boxes, and More (Tag).

An overall view of the card (I had to lean it up against something since it won't stand on it's own).  The fishbowl card was cut twice - once in white - so that when glued together I can still write inside!  I used my Gypsy to put two fishbowls next to each other, flip one, and weld them together to make the card shape.


The tag was cut and the sentiment stamped on - then I added the yellow twine through the existing hole.  I used pop-up squares to attach the tag to the card so it has a little dimension.


Here I used Copic Markers to make my already orange fish have some dimension.  You have to have 3 Copic Markers in the same color family (my three were orange).  Start with the darkest marker and outline the area you want to color.  Next use the medium marker and make a swiping motion from the outside in to drag the dark color inward.  Lastly use the lightest color to again drag the other two colors toward the center.

I also cut another fishbowl from the tan color and then used scissors to make the wave cut so that it looked like sand.  I chalked the edge of this (as I did the edges of everything) to make it look warmer.


For the bubble detail I used a darker blue cardstock and cut 1 inch circles.  I then drew a circle on them in white crayon and used the glitter mist on them.  You have to let the glitter mist dry for a few minutes (I actually did this first so that it could be drying while I worked on the rest of the card).  After the mist is dry - adhere the Epoxy Bubble Stickers and glue them onto the card.

Two new techniques that I thought would be difficult, but turned out to be fairly easy! What do you think?

Carla

Sunday, July 24, 2011

Blog Hop Next Sunday

Next Sunday Birthday Sundaes is hosting a Blog Hop! That's one week from today - I won't be featured, but I will be hopping along - and you should too!


Carla

Saturday, July 23, 2011

Medallion Birthday Card

I made this birthday card yesterday - saw a similar one in a magazine and wanted to try my hand at it.  It was fairly easy, but once I got done I realized that the medallion isn't really centered - I will probably make this one again anyways!

Materials needed for this project:
Card stock in white, blue, and 3 different double sided patterned papers.
Ink in pink.
"Happy Birthday" stamp.
Glue, Terrifically Tacky Tape - 1/8", and staples
Button
Twine
Cricut Carts - Jasmine (background, white square, and rectangles), Cricut Classic Font (circles).


To make the medallion, cut (or punch if you have one) squares (mine are 1.5").  Then you have to fold each into a cone and staple the end.  Add Tacky Tape to the card and arrange the cones around it.  The close up of the medallion:


Run the twine through your button.  Add more Tacky Tape on the top center of the medallion and add the button.  Here is the button detail:


Cut off the top of each circle and glue them down.  Run a line of Tacky Tape down - you should place it so that once you glue down the paper rectangle you still have half of it showing.  Glue down the rectangle and add the twine on the Tacky Tape that is sticking out.  Stamp your sentiment.


Hope you all like this card!

Carla

Thursday, July 14, 2011

Happy Birthday Banner Card

Hey all!  Today I made a birthday card for a family friend - I am pleased with the results and will probably mass produce this one in other colors! 

I am entering this card in the Birthday Sundaes weekly challenge:

#18 - Anything Goes Birthday Card sponsored by Circle B Enterprises!


The materials I used for this card:
Card stock in white, teal, and patterned pink.
Glue, Tacky Tape, and pop-up sticker squares.
Pink and white twine.
Ink in pink and "Happy Birthday" stamp from Michael's.
Carts - Lacy Labels (tag), Cricut Classic Font (triangles) and Jasmine (rectangles).


For this card I used a pre-done card base from Michael's, but you can also make the card base.  I cut out 3 rectangles and layered them, then I cut out the label and stamped on the sentiment.  I attached the label and triangles with pop-up stickers. I used the Tack Tape to attach the twine so it would stay in place across the card.


The twine is in 3 separate pieces - each bow is an individual piece that is taped on with Tacky Tape.


Close up of the twine


Bow detail


Close up of the sentiment.

Hope you like this card - any comments?

Carla

Monday, July 11, 2011

Home Decor Signs

Hey everybody! Wow - it has been a while - after being on vacation and being sick for a while I haven't been able to do any crafting.  This weekend I got together with my best friend, Emilee, and we made some home decor signs - I only have photos of the one for my home, but we made one for her and one for another friend.  We are all getting married within the next year and thought these would be great to hang up at home!


This photo is the first step after sanding the base - I painted it an off white color.


Sorry - I can't get this photo to flip.  This is after I applied a wood crackling layer - we wanted them to have an antiqued look.  I also painted over that layer with a different color paint and then finished it with varnish.


Here is the finished project - which I painted varnish over it again after applying the Cricut vinyl.  Hope you like it!

Carla